Stop Guessing Where Your PCB Curing Lamps Go
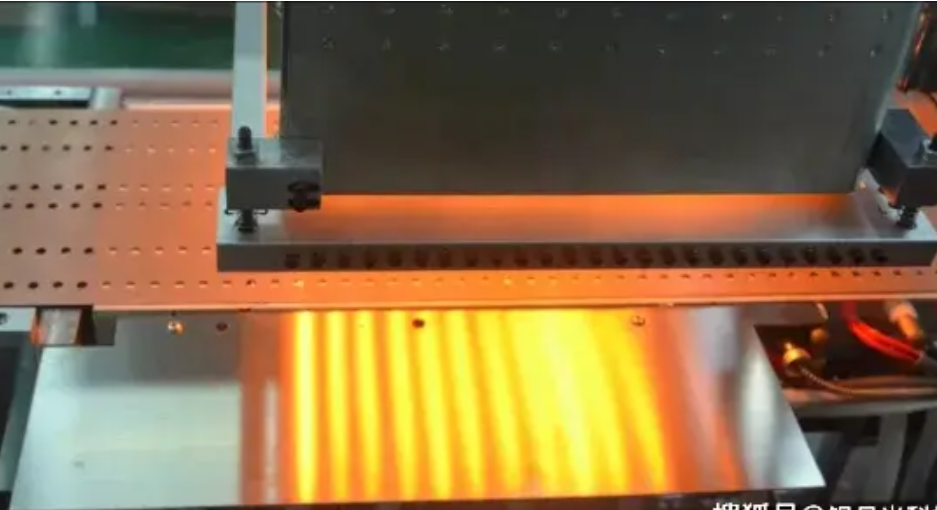
Setting up a PCB curing oven is usually a headache. It’s basically a giant game of “guess and check.” You set the lamps, run a few boards, find a cold spot, move a lamp, and do it all over again. It’s tedious. We decided to stop doing it that way. Instead, we’re using digital twins and simulation to nail down the exact lamp positions before a single bolt even touches the machine. The struggle with heat Curing is picky. You have to hit a very specific temperature window. If your layout is even slightly off, you end up with “cold zones” where the resin just won’t set, or hot spots that warp the whole board. That’s where the simulation comes in. We build a digital version of the oven to see exactly how the infrared energy hits the board. It lets us map out the heat flux visually, so we aren’t flying blind. Letting the math do the heavy lifting Instead of sliding lamps around by hand on the shop floor, we let algorithms handle the coordinates. The software looks at how the “heat cones” from different lamps overlap. We can tweak the angles and distances in the virtual model until the thermal profile is flat across the entire conveyor. It means when the machine finally arrives, the setup is already done. Keeping it real Now, simulation isn’t magic. It gets you about 95% of the way there. You still have to deal with real-world chaos—things like belt friction or weird airflow turbulence in the room. Plus, there’s a trade-off. A simulation might show a perfect heat map, but if you’re pushing your elements to the absolute limit just to shave a few seconds off your cycle time, you’re going to burn out your lamps way too fast. You have to find that sweet spot between running the line fast and actually making your hardware last. The best part? We aren’t wasting piles of expensive boards on setup runs anymore. We spec it, verify it in the software, wire it up, and get to work.