Getting the Heat Just Right for Smart Device Repair
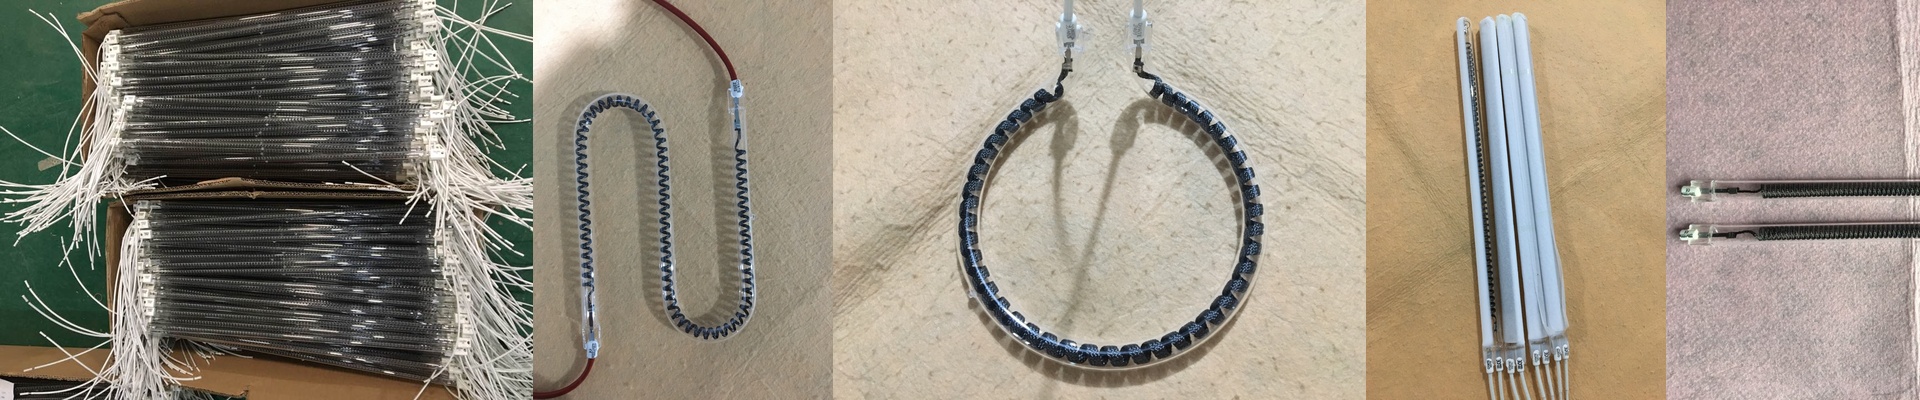
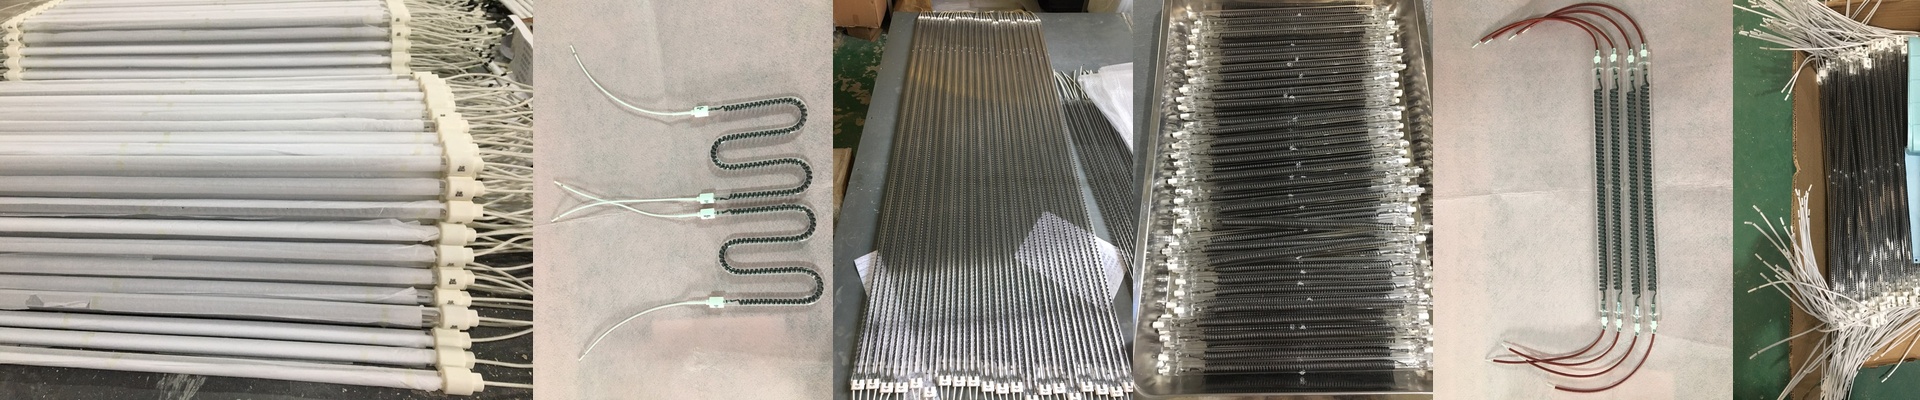
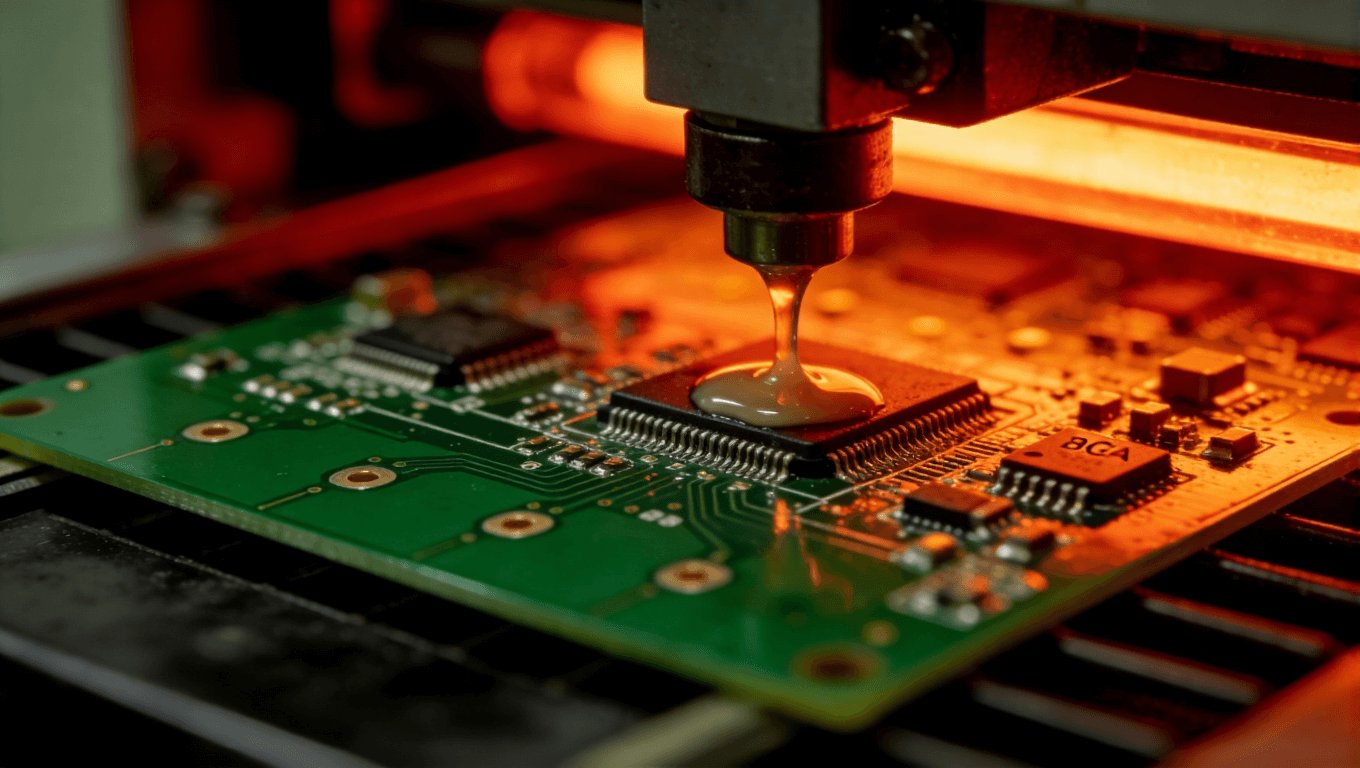
When you’re digging into a smart home device, heat is your best friend—until it isn’t. One second you’re softening some stubborn adhesive, and the next, you’ve melted a plastic housing or fried a PCB. It’s a tightrope walk. That’s why we focus on infrared (IR) heating. It lets you hit exactly where you need to without that messy “heat bleed” that ruins the sensitive electronics sitting right next to your target.
Power, Speed, and the Trade-off
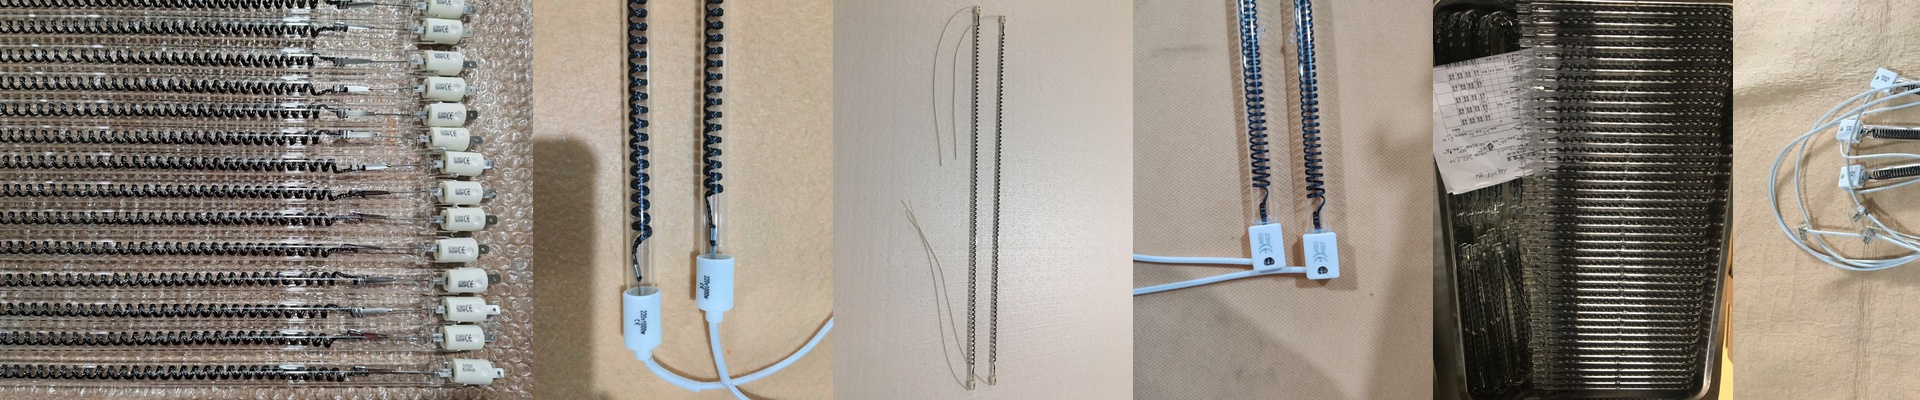
Here is the thing about wattage: high-wattage tubes get you up to temp fast. If you’re running a busy repair line, that speed is everything. But there’s a catch. When you push that much heat density, you risk thermal shock to the quartz glass. It can crack. To keep your filaments from burning out or flickering, you’ve got to make sure your power supply is steady. No spikes, no dips. Just clean power.
The Gear: Quartz and Connectors
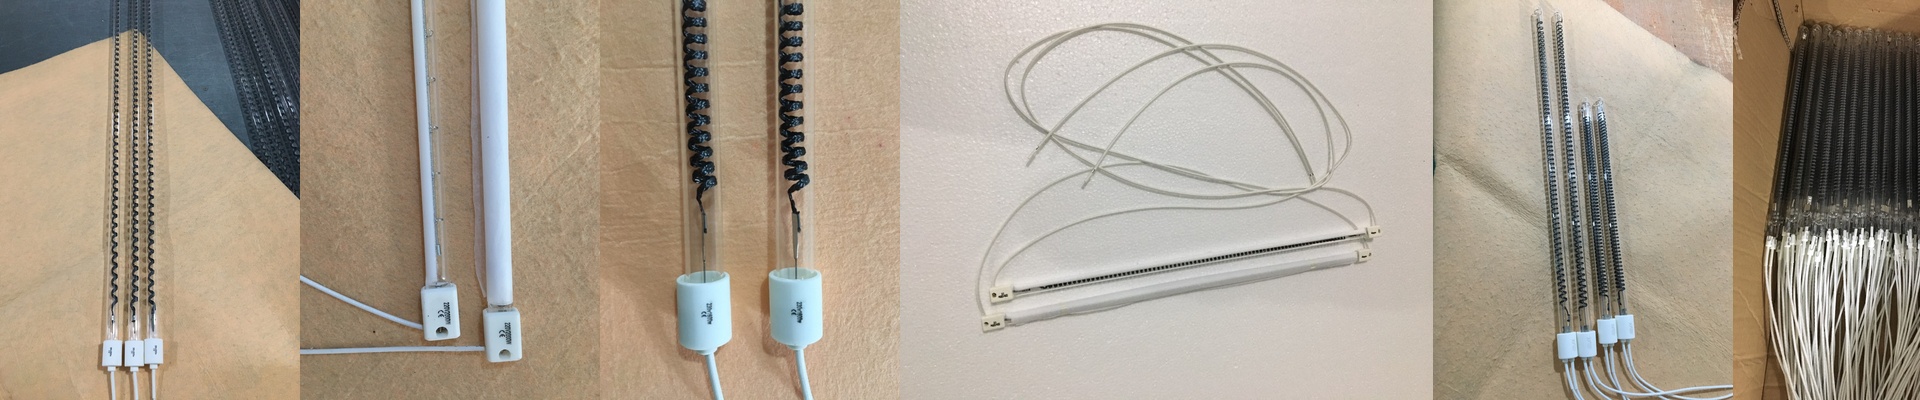
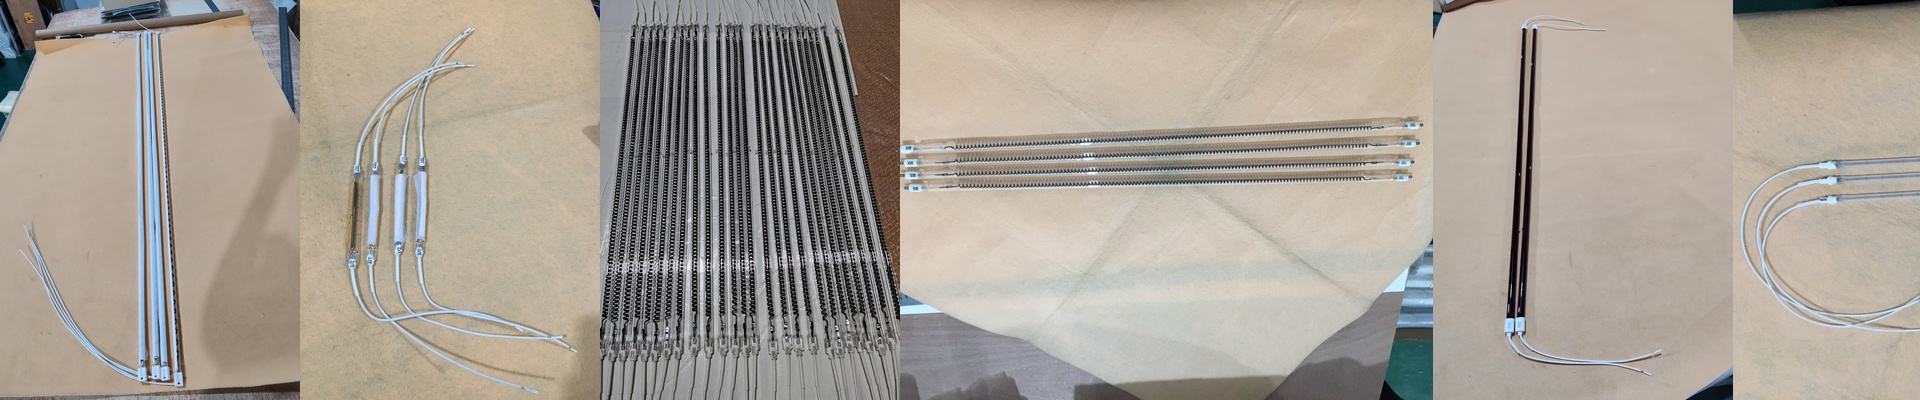
We use high-purity quartz because it lets the IR light through without blocking it. Depending on what you’re fixing, you might want shortwave emitters to get deep into the device, or coated versions if you only need to warm up the surface. As for the fit? We stick with R7s and SK15 connectors. They’re the industry standard, so they should slide right into most of your existing rigs. Just make sure you’re using the right gauge wiring. If the wires are too thin, the contact points will overheat, and nobody wants that.
Let’s Get the Setup Right
We don’t want to be just another parts shop. We’d rather be the people you call to make sure your rig actually works. The distance between your lamp and the device is where the magic happens. Too close? You’ll scorch the board. Too far? You’re just wasting electricity and time. We can help you figure out the exact gap and timing you need. The goal is simple: get that glue to let go without hurting the circuitry inside.